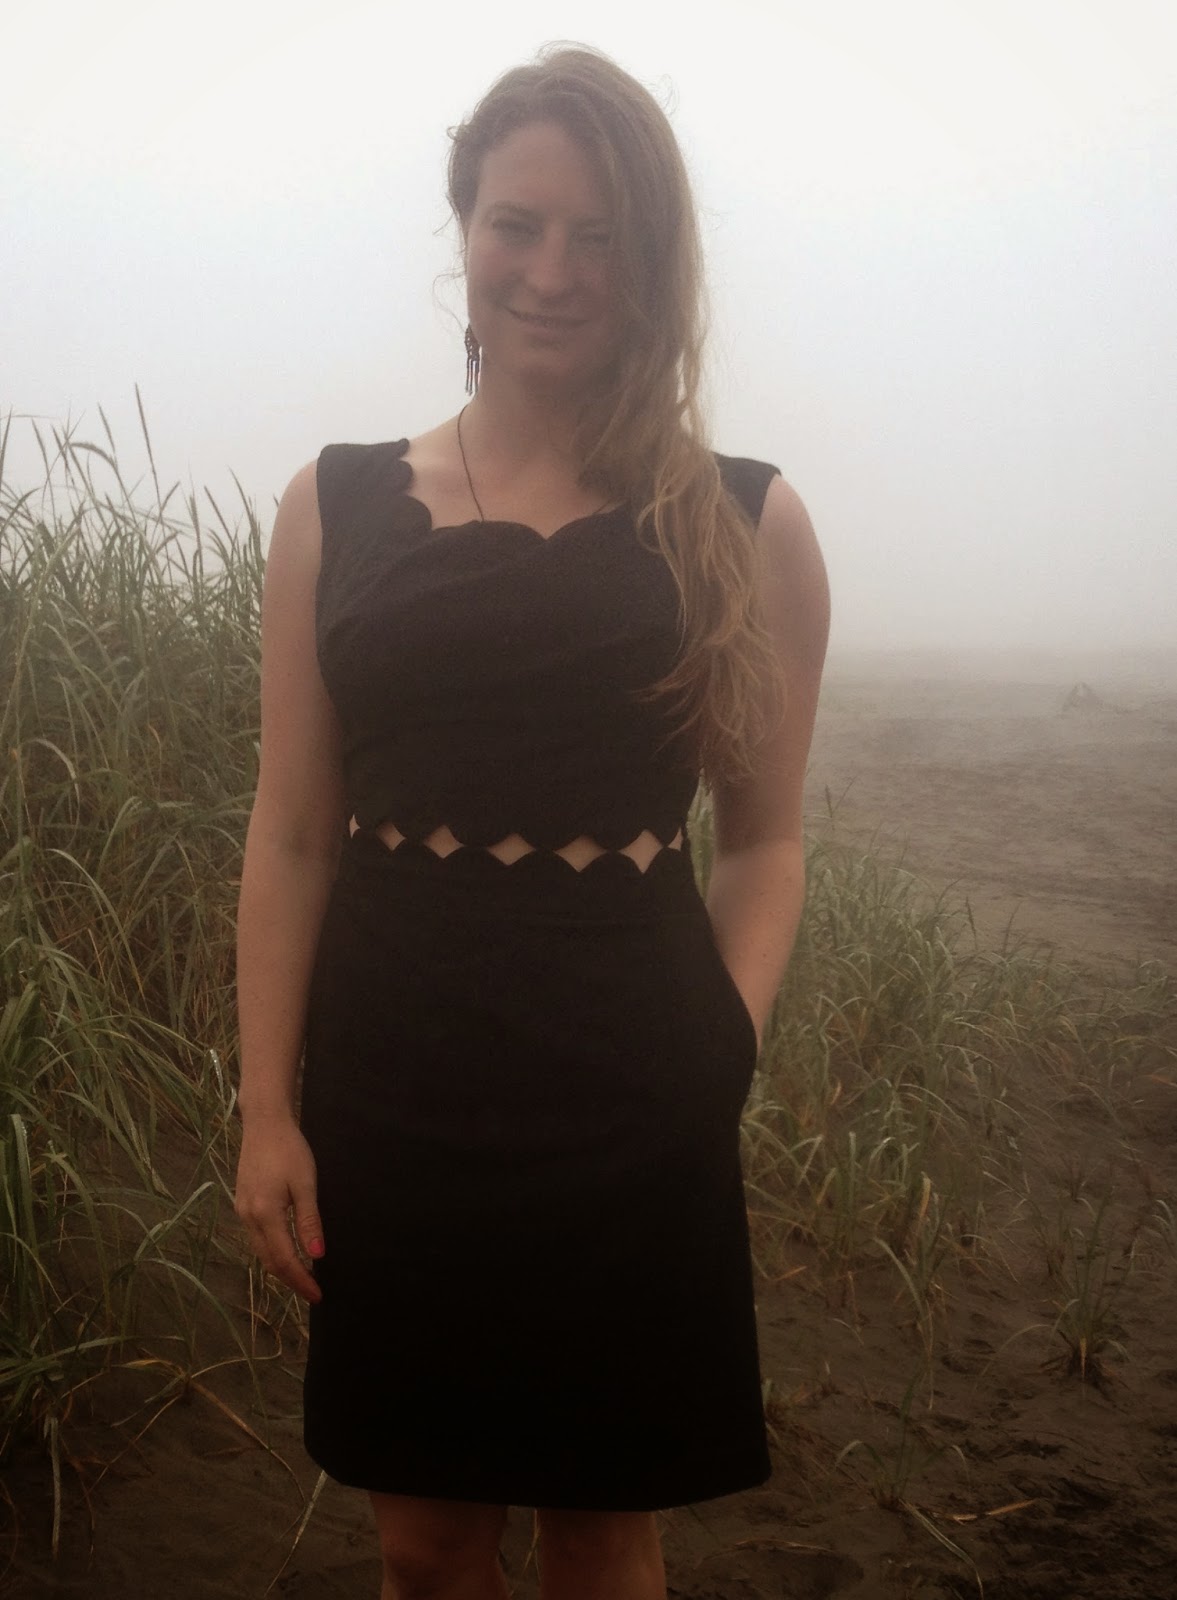
I ended up taking classes for years -- pattern making, draping, and finally sloper --before I could start making a dress for myself. From designing this dress to going once a week to pattern making and construction classes, this dress took me over a year. Add all the build-up, and I'm counting three years to get here. Ta-Da!! This is my Black Dress, a major milestone in the curriculum at NYFA.
You can see Casy's awesome Black Dress here. If I find links to other Black Dresses from school, I'll add them.
My
favorite feature is the back detail. I like how the scallops continue
from the V-back neckline down the row of buttons. I also think the
little peeks of skin along the waist worked out well. 

Here you can see that I have pockets. Yes, pockets, I love you! Also, you can see the scallops across the front neck-line here. And then there are scallops, of course, all along the waist. I learned some things about sewing scallops.
1. DO NOT use a fabric with any stretch at all. As you are manipulating your piece to get all those scallops just right it will stretch and be very difficult. This fabric has some stretch I hadn't noticed, and I had to use excessive hand basting to get it to work.
2. Freshen up your markings right before you sew. I drew on my sew line for the scallops and found that it fades noticeably if I waited to sew. Scallops are fiddly enough without guessing where the line really is.
3. Go slowly with a tiny stitch. I dialed my stitch length down under 2, which helps in two ways. It made my machine go more slowly, which was easier to control. It also made me more confident that my stitches would hold after I trimmed the seam very closely for all those curves.
4. Don't snip lots of little clips along the curve -- just trim it all down to almost nothing and put an extra clip into each corner.
 5. I've read since that larger scallops are easier to sew and that you
should leave a little flat space between each scallop so you don't get a
little wrinkle in the valleys.
 If I ever make this dress again, I will review my own advice. I may also give the next version a scalloped hem. Too much? I kind of feel hat if you are going to have too many scallops, you should just go for it. Over the top scallops, why not?
Here's a shot of the lovely beach where I took these photos on the Washington coast. Someday I'll get a really camera and actually take nice photos. This area was lovely, and I wish I could have captured it better.
Sorry I'm not a pro at formatting a blog post... I wanted to arrange all these pictures better, but I cant figure it out right now. Anyway, here are some construction details of my dress. It's rayon lined with more rayon (bemberg). All the edges have facings that then connect to the lining. I added a bra-strap holder with a tube of bias. I used snaps behind the decorative buttons both because I was nervous about making button holes and because it's easier to get off this way, what with the closure being in the back. The lining is hemmed with the skirt, both bound with a bias strip. Oh, and the earrings are from my recent trip to San Cristobal, Mexico.
Thanks for reading!


.jpg)
.jpg)
.jpg)
.jpg)
